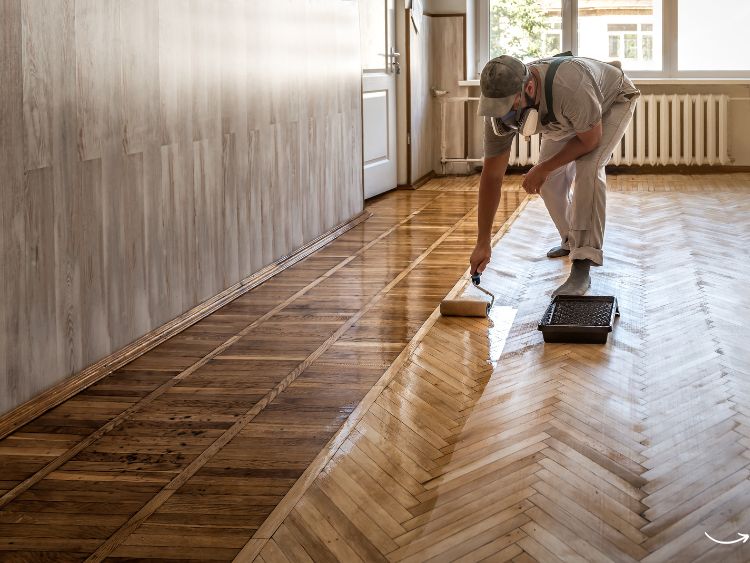
Oh no, a scratch on your beautiful hardwood floor! Whether it’s from a moving piece of furniture, the playful antics of your pet, or just daily wear and tear, hardwood floors can easily get damaged. But don’t worry—this doesn’t mean you have to replace the entire floor. Enter the hardwood floor repair kit, a lifesaver for homeowners looking to restore their floors’ original charm without breaking the bank. In this article, we’ll explore everything you need to know about these kits, from their benefits to how to use them effectively. Let’s dive in!
What is a Hardwood Floor Repair Kit?
A hardwood floor repair kit is a handy collection of tools and materials designed to fix minor damages like scratches, dents, and small gouges in your hardwood floors. These kits usually include:
- Touch-up markers
- Wax sticks
- Sandpaper
- Buffing pads
- Application tools (e.g., putty knives)
These components work together to blend the damaged area with the rest of your floor, making the imperfections nearly invisible.
Benefits of Using a Hardwood Floor Repair Kit
Cost-Effective Solution
Replacing a section of your hardwood floor can be expensive. A repair kit, on the other hand, is much more affordable and can extend the life of your floor significantly.
DIY-Friendly
You don’t need to be a professional to use a hardwood floor repair kit. With a little patience and the right instructions, anyone can achieve professional-looking results.
Time-Saving
Repairing a floor using a kit is much quicker than replacing it. Most repairs can be done in a matter of hours, making it a convenient option for busy homeowners.
Versatility
These kits are versatile and can be used on various types of hardwood floors, including oak, maple, cherry, and more. They come in different shades to match your floor’s color perfectly.
How to Choose the Right Hardwood Floor Repair Kit
Assess the Damage
Before purchasing a kit, evaluate the type and extent of damage on your floor. Is it a light scratch, a deep gouge, or a dent? Different kits cater to different types of damage, so it’s essential to choose one that suits your needs.
Match the Color
Make sure the repair kit matches your floor’s color. Some kits come with multiple shades that you can mix to achieve the perfect match.
Check the Components
Ensure the kit includes all necessary tools and materials. Some kits are more comprehensive than others, so choose one that offers the best value for your specific repair needs.
Read Reviews
Look for reviews and ratings from other users to gauge the effectiveness of the kit. Real-world feedback can provide valuable insights into the kit’s performance.
Step-by-Step Guide to Using a Hardwood Floor Repair Kit
1. Prepare the Area
Before you start, clean the damaged area thoroughly. Remove any dirt, dust, or debris to ensure a smooth repair process.
2. Sand the Damage
Use the sandpaper provided in the kit to gently sand the damaged area. This will help the repair materials adhere better.
3. Apply the Wax or Filler
Follow the kit’s instructions to apply the wax or filler to the damaged area. Use the application tools provided to spread it evenly and fill in any gaps.
4. Buff the Area
Once the filler has dried, use a buffing pad to smooth the surface. This will blend the repair with the rest of the floor.
5. Touch Up with Markers
If your kit includes touch-up markers, use them to add finishing touches and ensure the repaired area matches the surrounding wood perfectly.
6. Seal the Repair
Some kits come with a sealant to protect the repaired area. Apply the sealant as directed to ensure a long-lasting repair.
Common Mistakes to Avoid
Using the Wrong Color
One of the most common mistakes is using a repair kit that doesn’t match your floor’s color. Always test the color on a small, inconspicuous area first.
Skipping the Sanding Step
Skipping the sanding step can result in a repair that doesn’t adhere properly and looks uneven. Always sand the damaged area before applying the filler.
Overfilling the Damage
Applying too much filler can make the repair stand out. Use just enough to fill the damage and blend it with the surrounding wood.
FAQs About Hardwood Floor Repair Kits
What types of damage can a hardwood floor repair kit fix?
A hardwood floor repair kit can fix minor damages such as scratches, dents, small gouges, and color mismatches.
How long does it take for the repair to dry?
Drying times can vary depending on the kit and the extent of the repair, but most repairs dry within a few hours.
Can I use a hardwood floor repair kit on engineered wood floors?
Yes, most repair kits can be used on both solid hardwood and engineered wood floors.
How often should I use a hardwood floor repair kit?
Use the kit as needed to address visible damage. Regular maintenance can help keep your floors looking their best.
Are hardwood floor repair kits safe to use around pets and children?
Most kits are safe once fully dried, but it’s always best to check the manufacturer’s instructions and ensure proper ventilation during use.
Summary
Hardwood floor repair kits are a fantastic solution for homeowners looking to maintain the beauty of their floors without the high cost of professional repairs. These kits are user-friendly, cost-effective, and versatile, making them a must-have for anyone with hardwood floors. By following the steps outlined in this guide, you can confidently tackle minor floor damages and keep your home looking its best.
Authoritative Links
- www.thisoldhouse.com
- www.bobvila.com
- www.familyhandyman.com
- www.diynetwork.com
- www.woodfloorbusiness.com
In conclusion, a hardwood floor repair kit is an essential tool for any homeowner with hardwood floors. With a bit of effort and the right kit, you can easily fix minor damages and restore your floors to their original glory. So, why wait? Grab a repair kit and give your floors the TLC they deserve!


